Installation Guide via Forge (Recommended)
Explanation of installation via forge of software.
Steps For Installing Software On Your Server
There are various steps for installing software
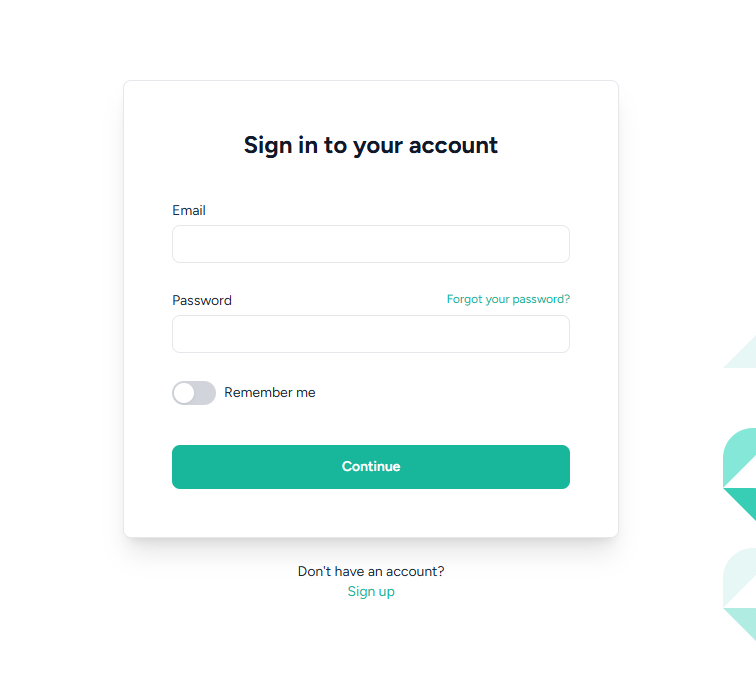
- Login to the Forge Server
First you have to logged-in your forge server.
- Create Server
You can choose any of the server providers according to your server. Also, you can create custom VPS server.
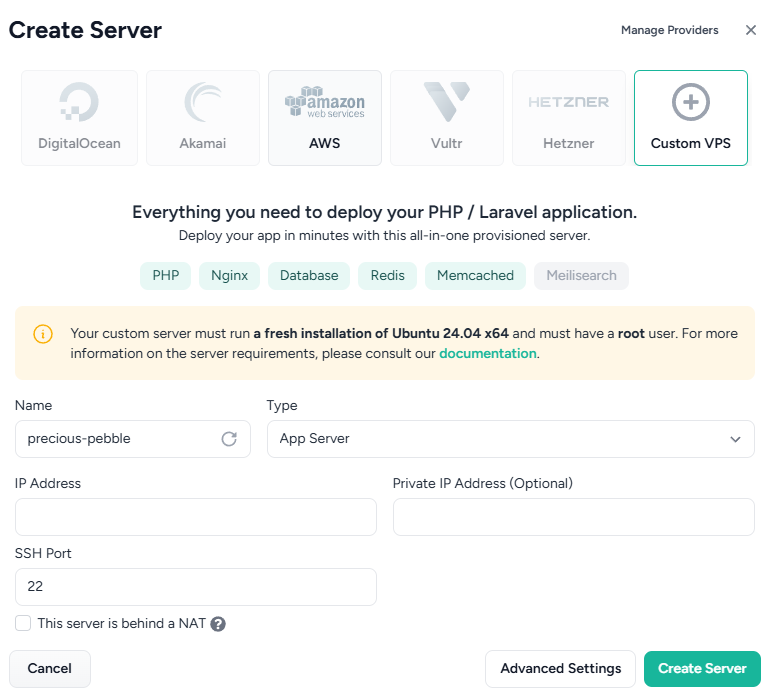
- Name
Enter name of your server.
- Type
Select App Server option for type of your server.
- IP
Enter here IP address of your server.
- Create Server
After fill IP address field, then click on the create server button. Your server successfully created on the forge server.
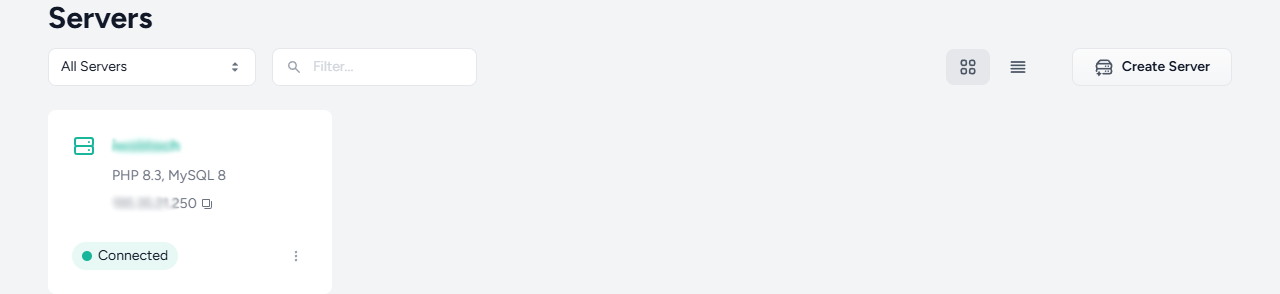
After creating a server, then click on server for access the server.
- Name
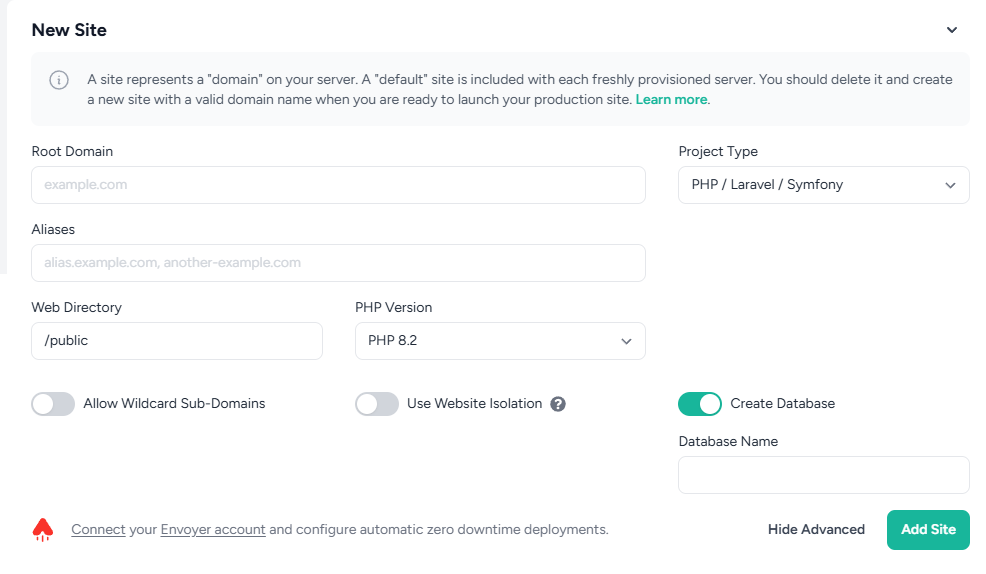
- Add New Site
After access the server, then add new site.
- Root Domain
Enter here your website domain where you run this software.
- Project Type
Select project type to PHP/Laravel/Symfony.
- PHP Version
Select PHP Version to 8.2 or latest.
- Create Database
Enable to create database option, then enter the name of the database where will you store the data of your software.
- Add Site
After all the steps then click add site button. Your site successfully installed on your forge server.
- Root Domain
- Choose Git Repository
After installing site, you should click on the git repository option.

- Select Git Provider
After selecting git repository, you should select your git provider where you software store.
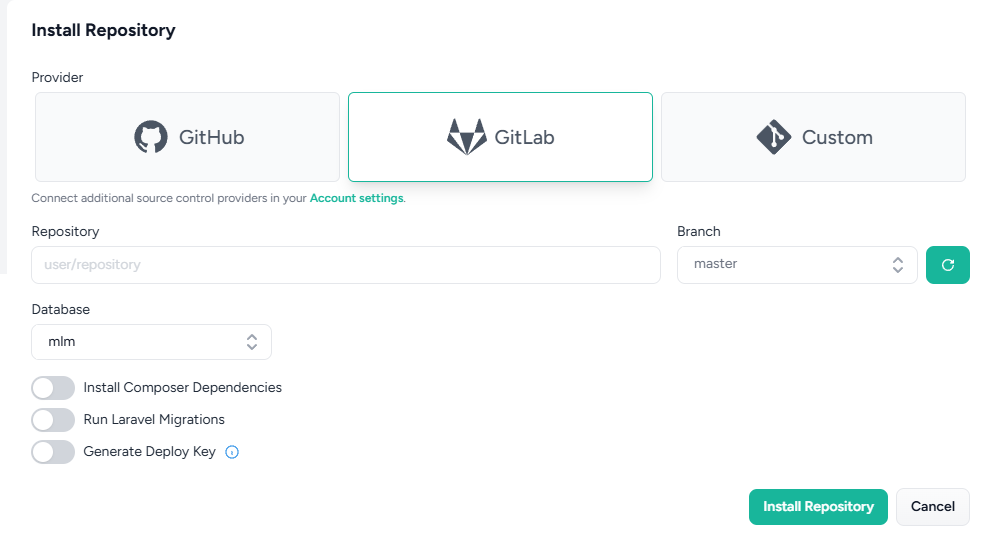
- Repository
After selecting the git provider, add your git url.
- Branch
After that you should select branch name that you will deploy on the server. Usually main or master branch will deploy on the server.
- Database
Select the database where you store the data of your software. Disable the install composer dependencies and run laravel migrations.
- Install Repository
After all the steps then click install repository. After clicking this button your repository successfully installed on your server.
- Repository
- Select Git Provider
- Create Database User
After install repository, you should add the database user.
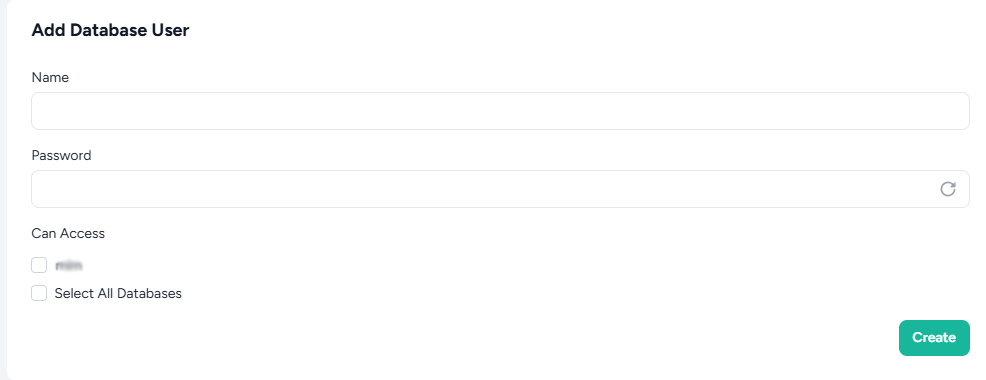
- Name
Enter the name of database user.
- Password
Enter the strong password of that database user.
- Can Access
Give the permission of databases that database user can access these database.
- Create
After that click on the create button your database user successfully created.
- Name
- Environment
After creating the database user, goto the environment section of your installed site on your server. In this section you can set environment of your software. You copy .env.sample file from your software and paste the whole content of this file in here. After pasting the .env.sample file you should change some credentials.
- APP_NAME = title of your website
- APP_URL = full domain of your website
- DB_DATABASE = name of the database
- DB_USERNAME = database username
DB_PASSWORD = password of your database user
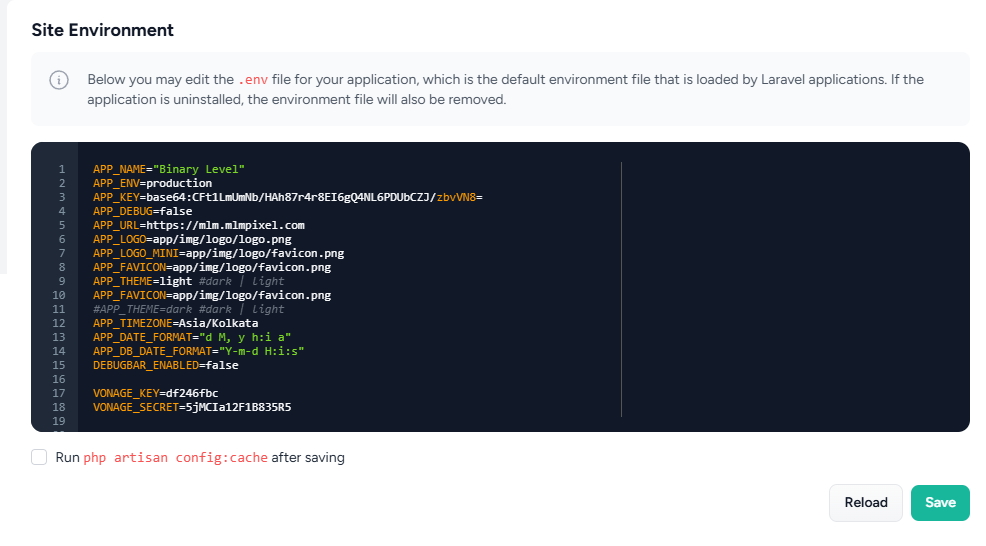
After changing click on the save button your software environment successfully added.
- Command
After added environment, you should go to the command page.
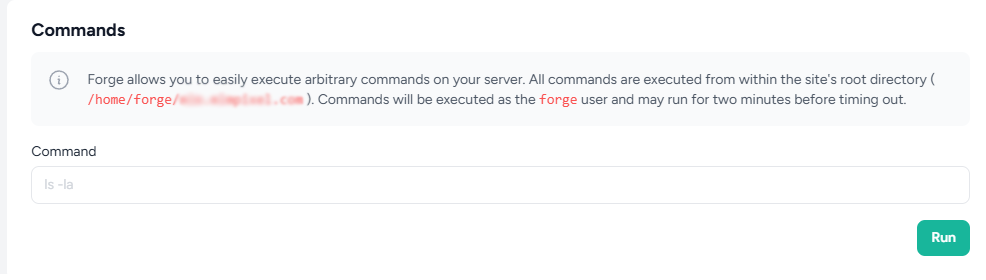
- Update Composer
First here you run
composer updatecommand. It will update te composer of your server. - Migrate Data
Then you should run
php artisan migrate:fresh --seed --forcecommand. After run this command it will migrate the fresh database and seed the default data in your database. - Storage Link
Then you should run
php artisan storage:linkcommand. This command will link the storage folder of your software.
- Update Composer
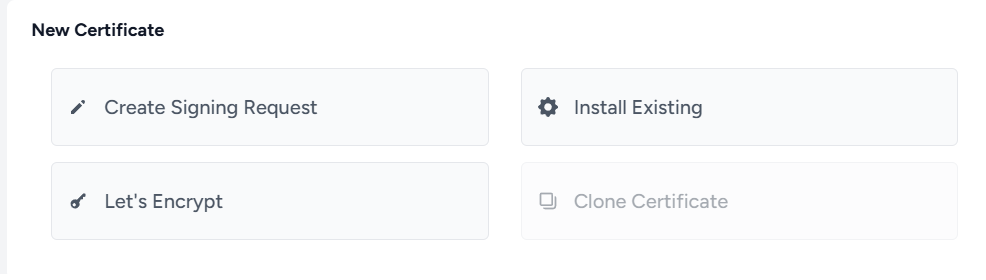
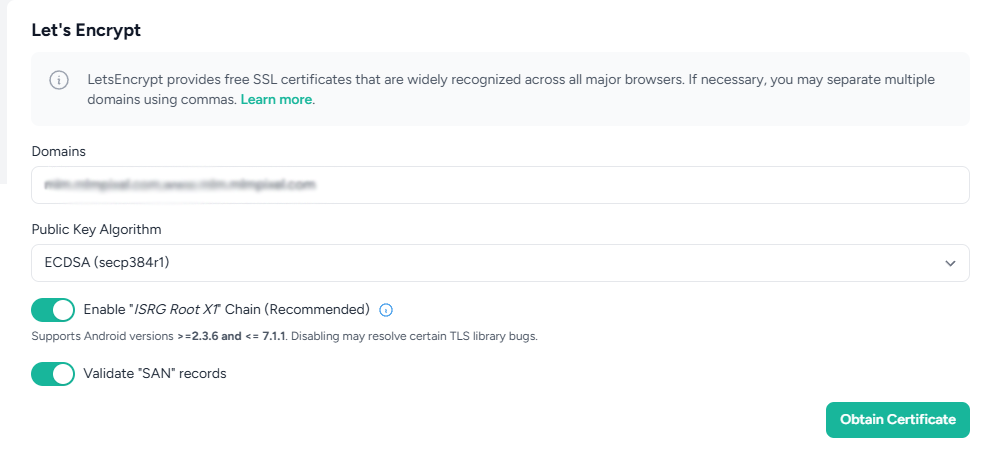
- SSL
After run all commands, then go to the ssl section for generate ssl certificate. Then click Let's Encrypt button. After that click on the 'Obtain Certificate' button.

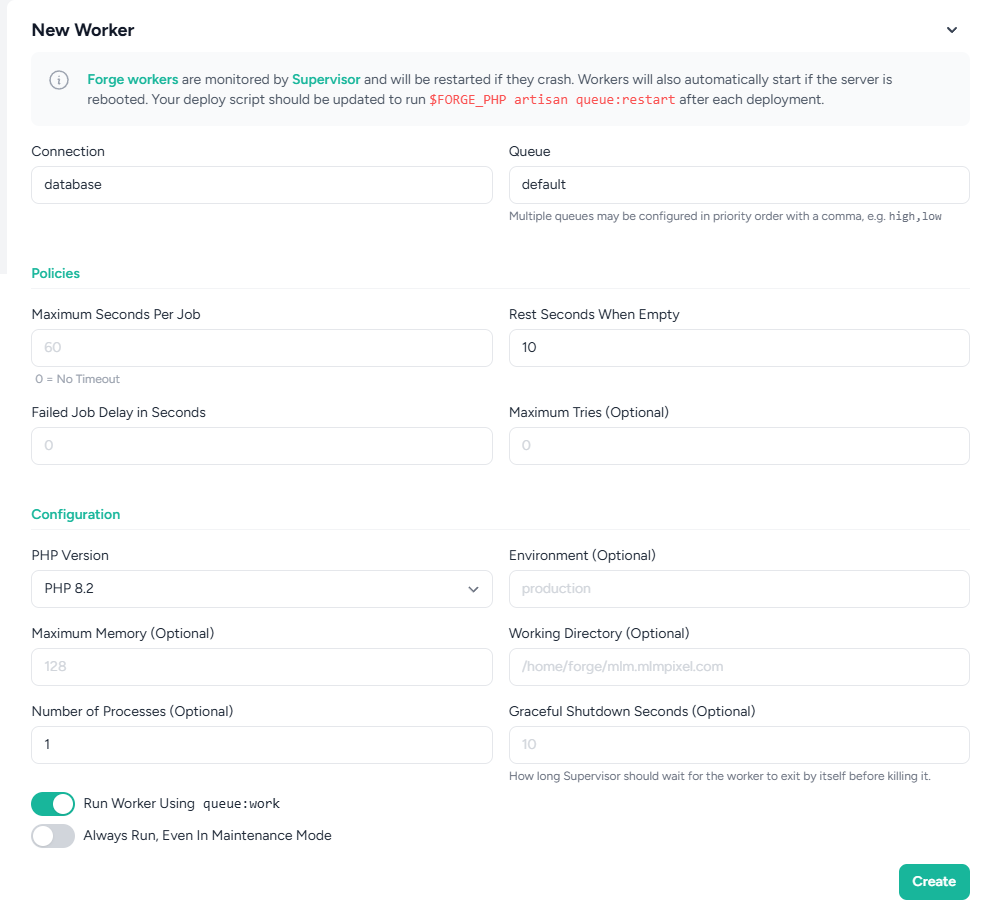
- Queue
After generating ssl certificate, go to the queue section. Then enter database in connection field, after that click on the create button. It will help for fire the emails from your software.

- Scheduler
After created queue connection, then go to the scheduler section for run closings of your software. Here fill this
php8.2 /home/forge/yourdomain/artisan schedule:runin command field. Then select your database user. After that select every minute frequency. Then click on the create button.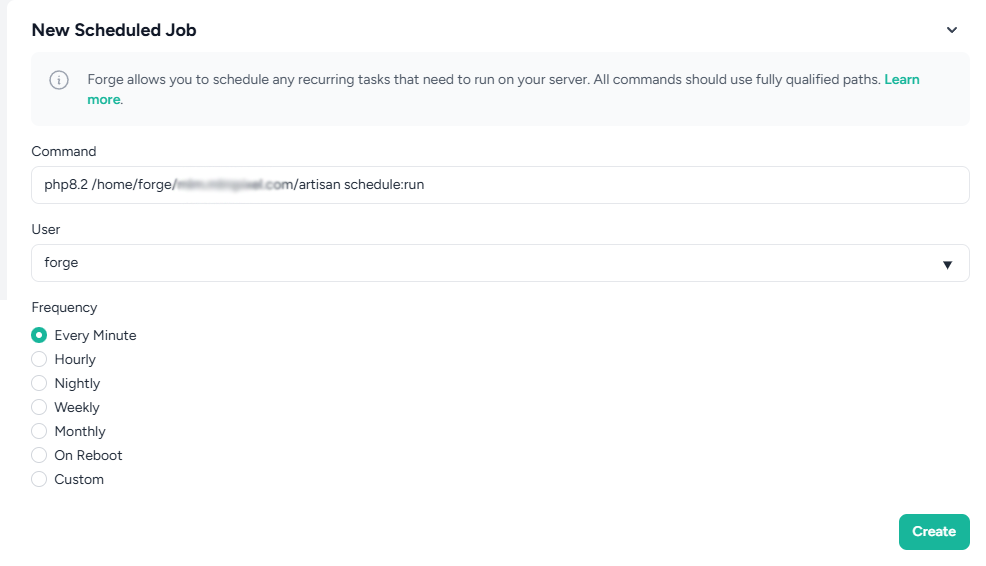
After completing all the steps your software will successfully deploy on your forge server.