Installation Guide via Cpanel
Explanation of installation via cpanel of software.
Steps For Installing Software On Your Server
There are various steps for installing software
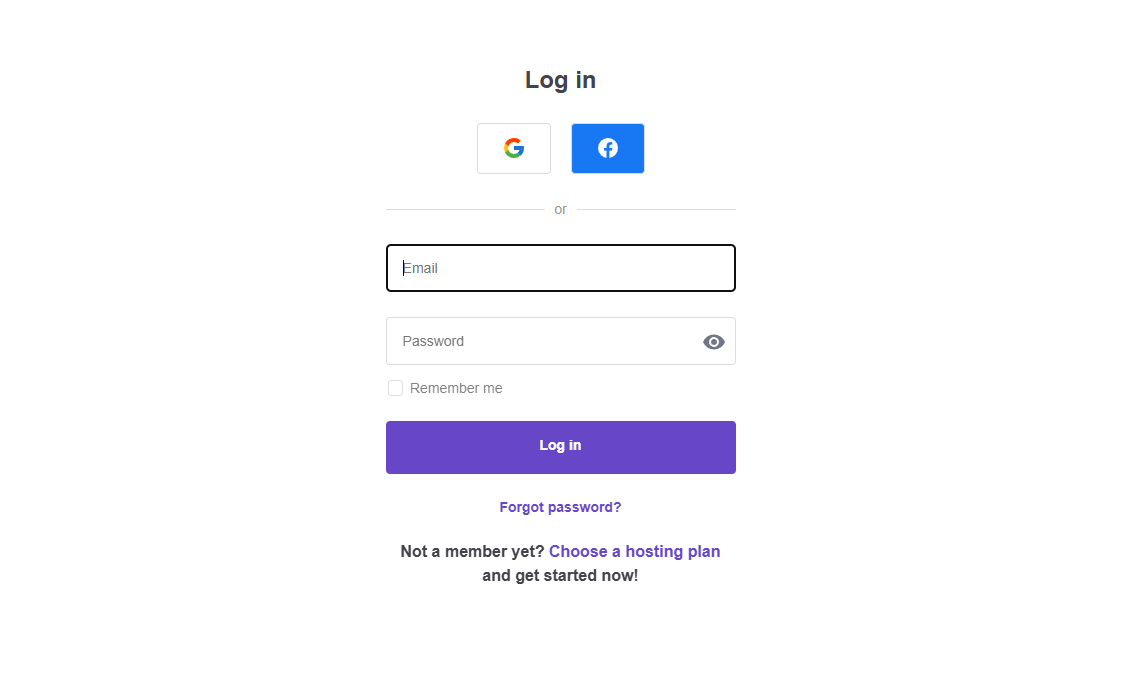
- Login to the Server
First you have to logged-in your server.
- Manage Web Hosting
After login, then click manage the web hosting.
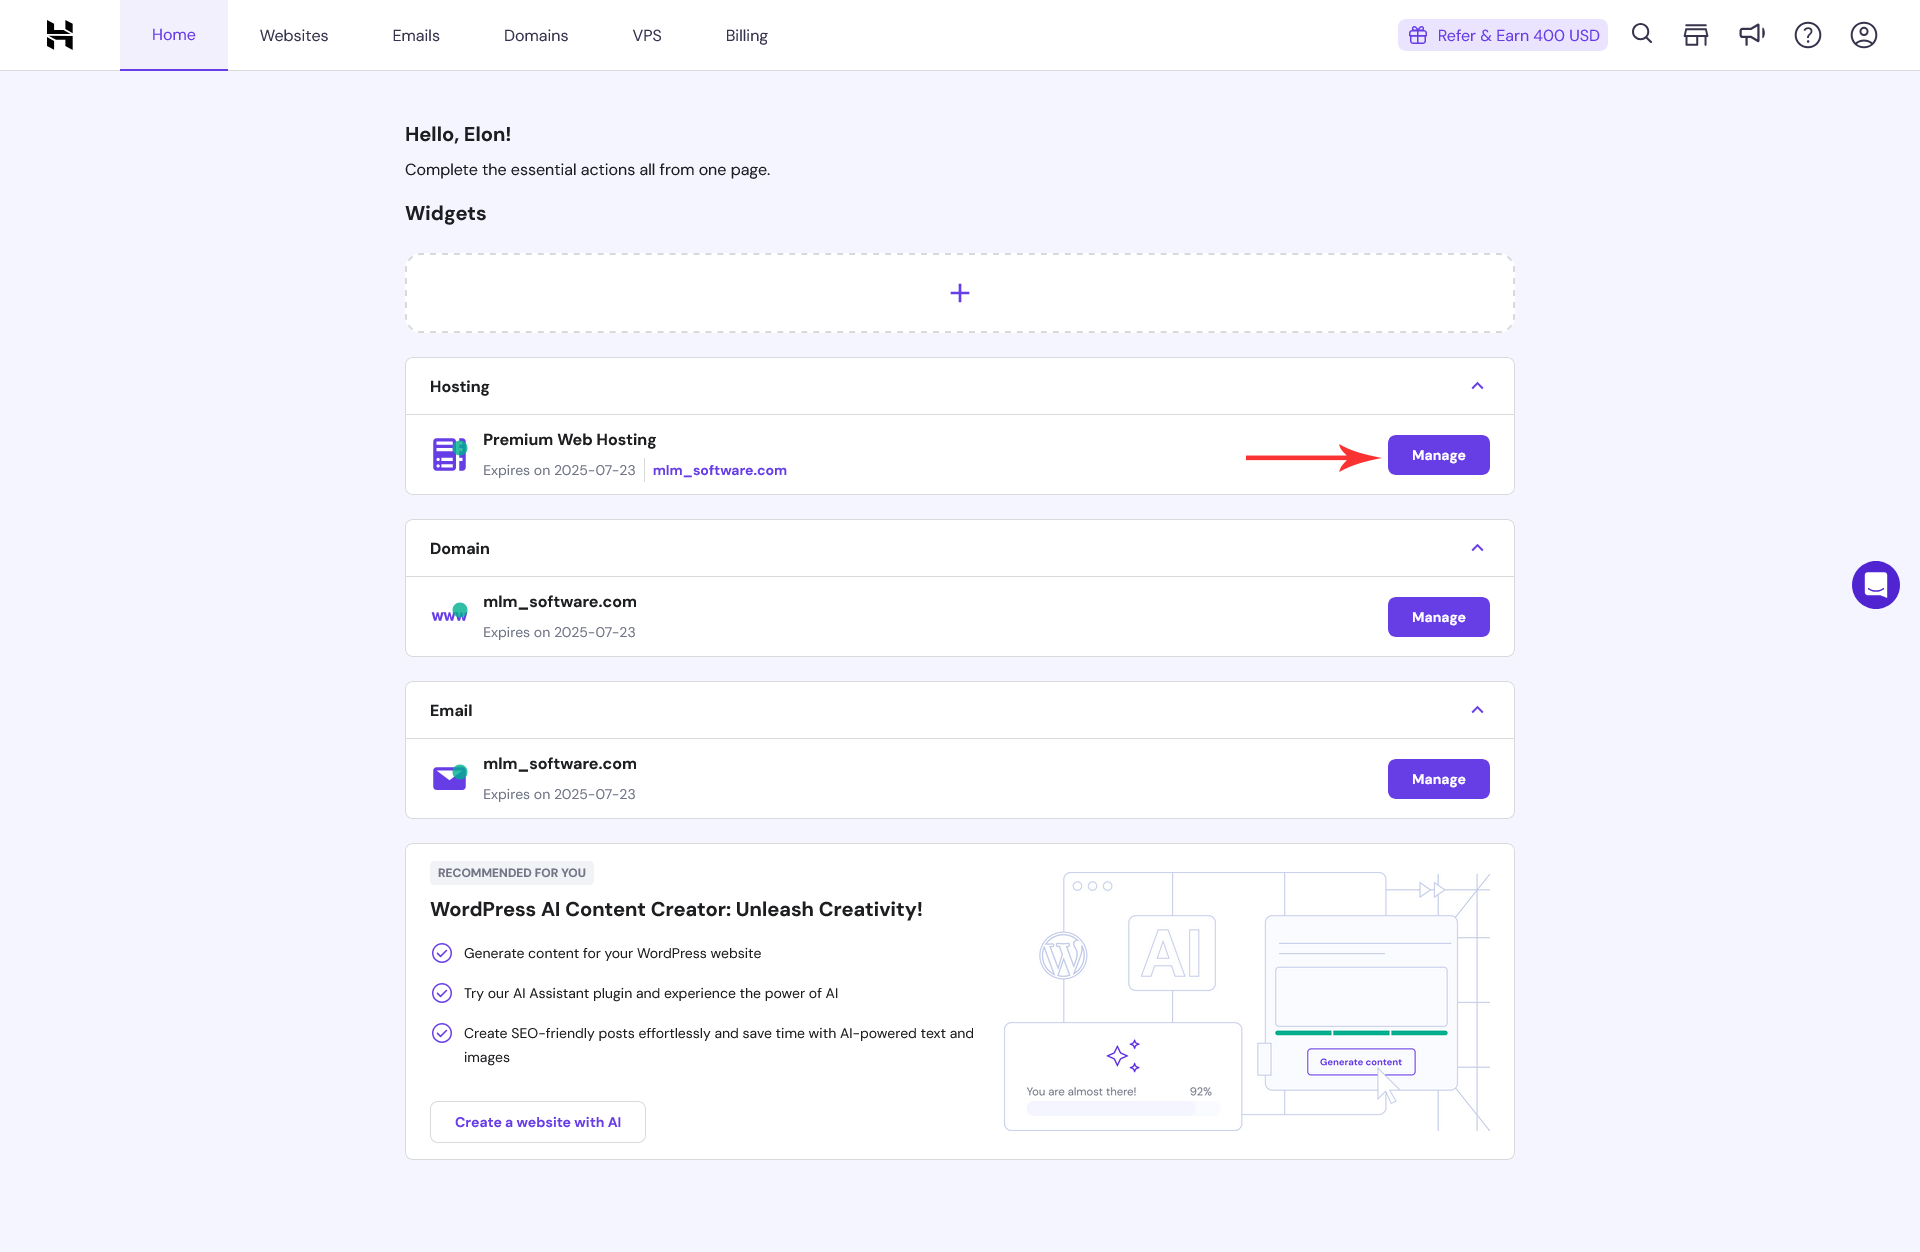
- Create Database
After second step, then click database button for create database.
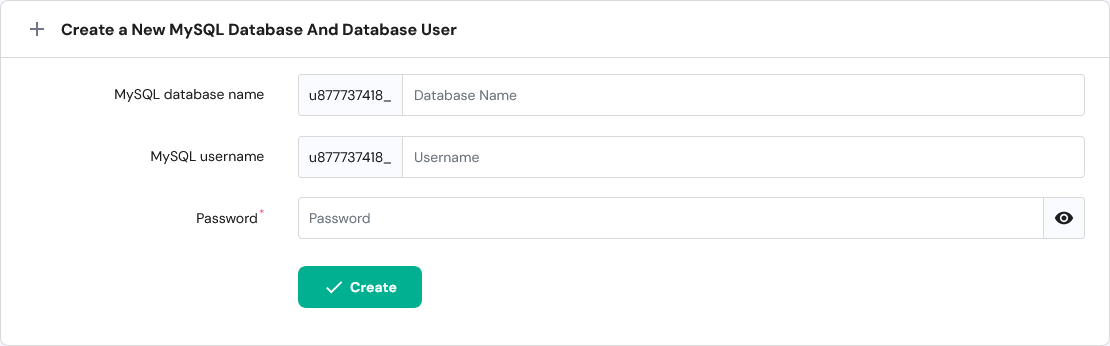
- Database Name
Here enter the database name.
- Username
Enter the username.
- Password
Enter the strong password of that database.
- Create
After entering the name of database, username and password then click create button. Your software's database successfully created.
- Database Name
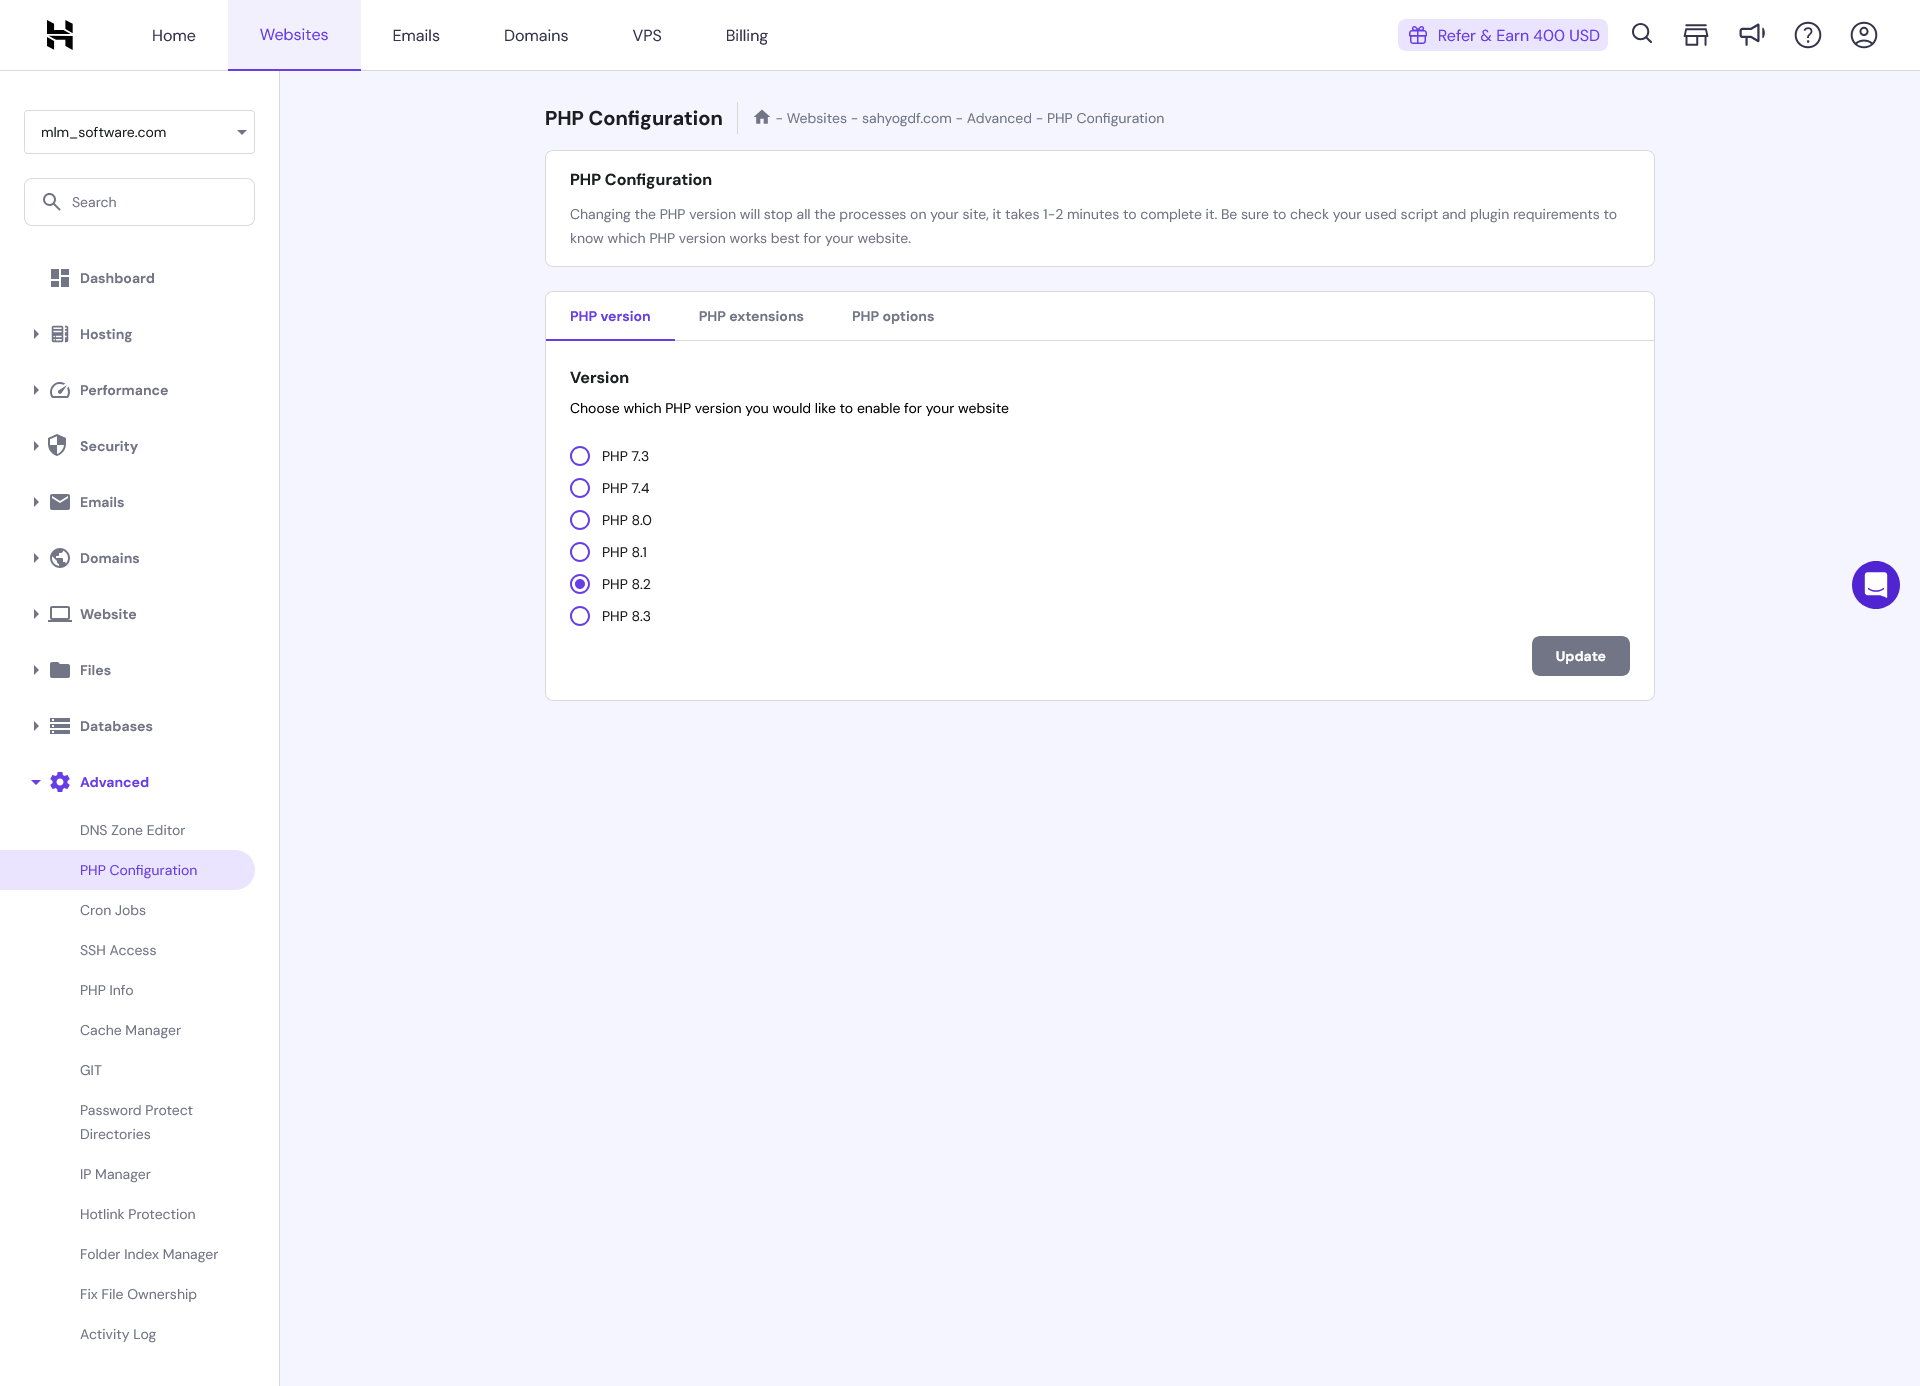
- Check PHP Configuration
After creating the database set php configuration to PHP 8.2.
- Upload software on server
There are two methods for upload software on server.
- Using Git Repository
Then go to git page. Here you will enter the git repository path of your software.
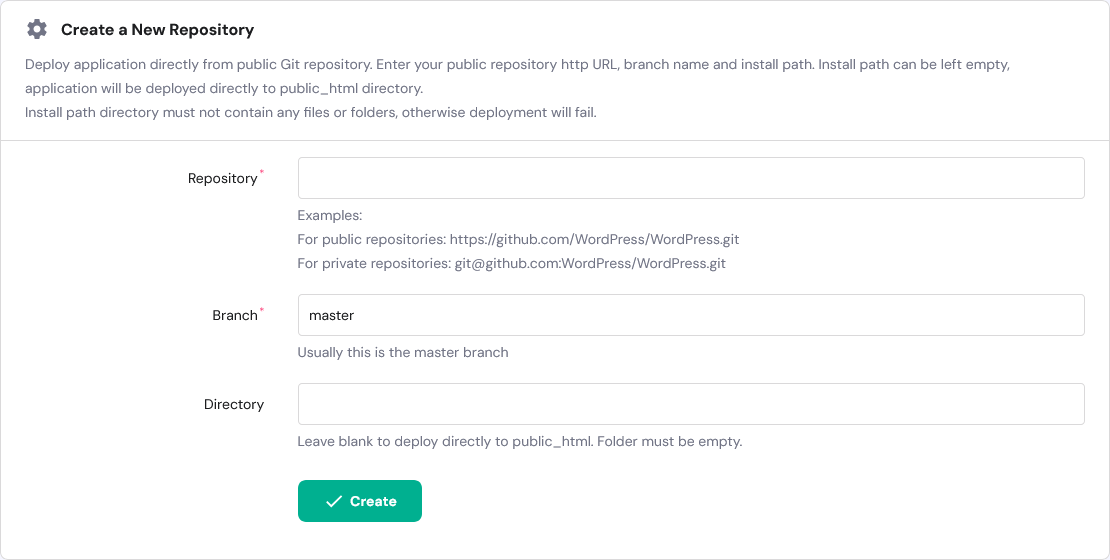
- Repository
Here you enter the git repository path of your software.
- Branch
Here you enter branch name that you will deploy on the server. Usually main or master branch will deploy on the server.
- Directory
If you deploy directory to public_html then you will leave this blank. Otherwise, enter the directory name where you want to deploy software. Make sure that folder is empty.
- Create
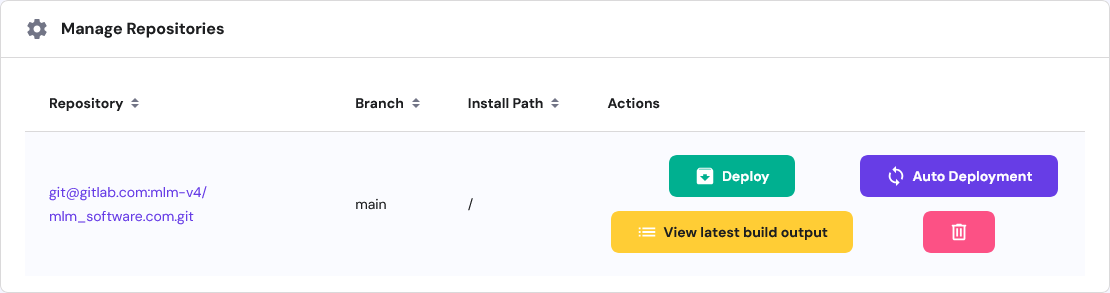
After entering the path of repository, branch and directory then click create button. After creating git repository click on the deploy button for deploy the software on server.
- Repository
- Direct upload software zip file
You can also direct upload your software's zip file on server. Then extract your zip file.
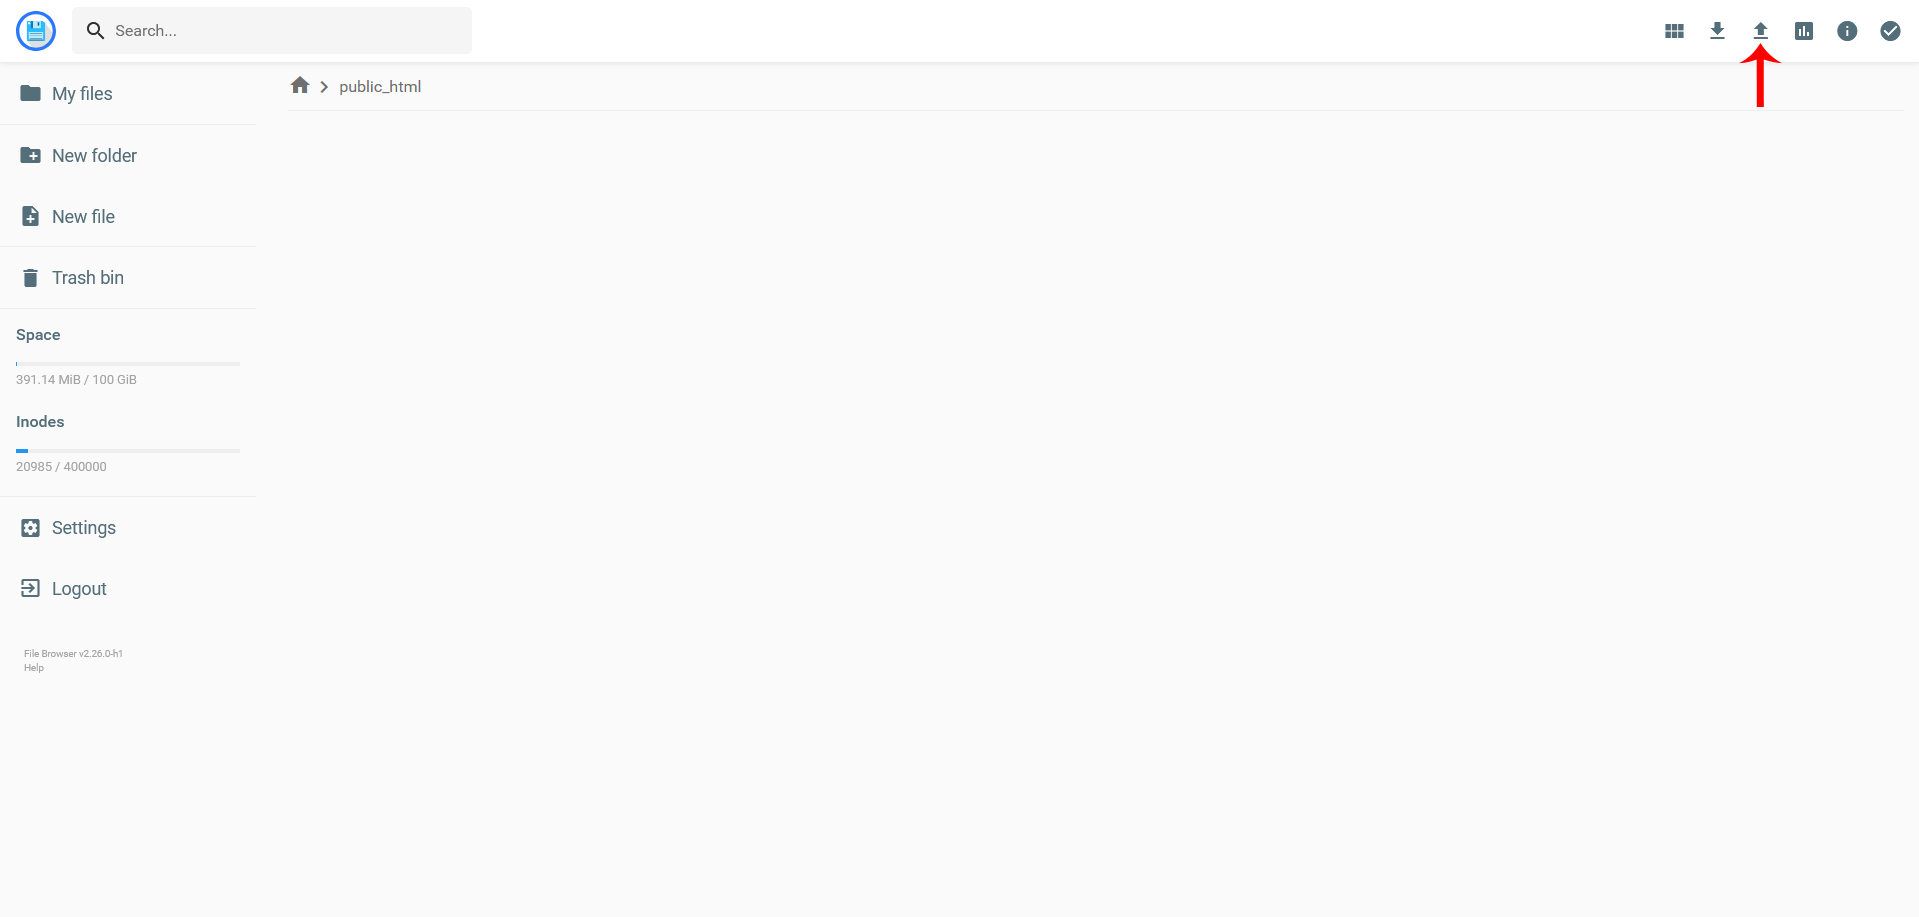
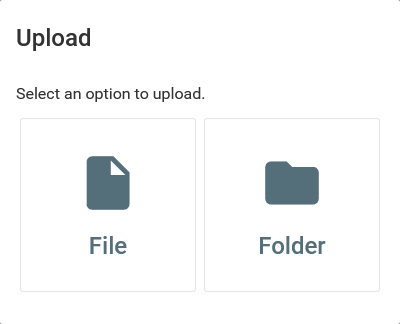
After clicking this button you will see the option for uploading file or folder. Click on file button and select the zip file from your local storage. After uploading zip file then you should extract this zip file on serve. Then your software's file successfully upload on your server.
- Using Git Repository
- SSH Access
After create git repository, then you have change ssh status inactive to active with the help of enable button.
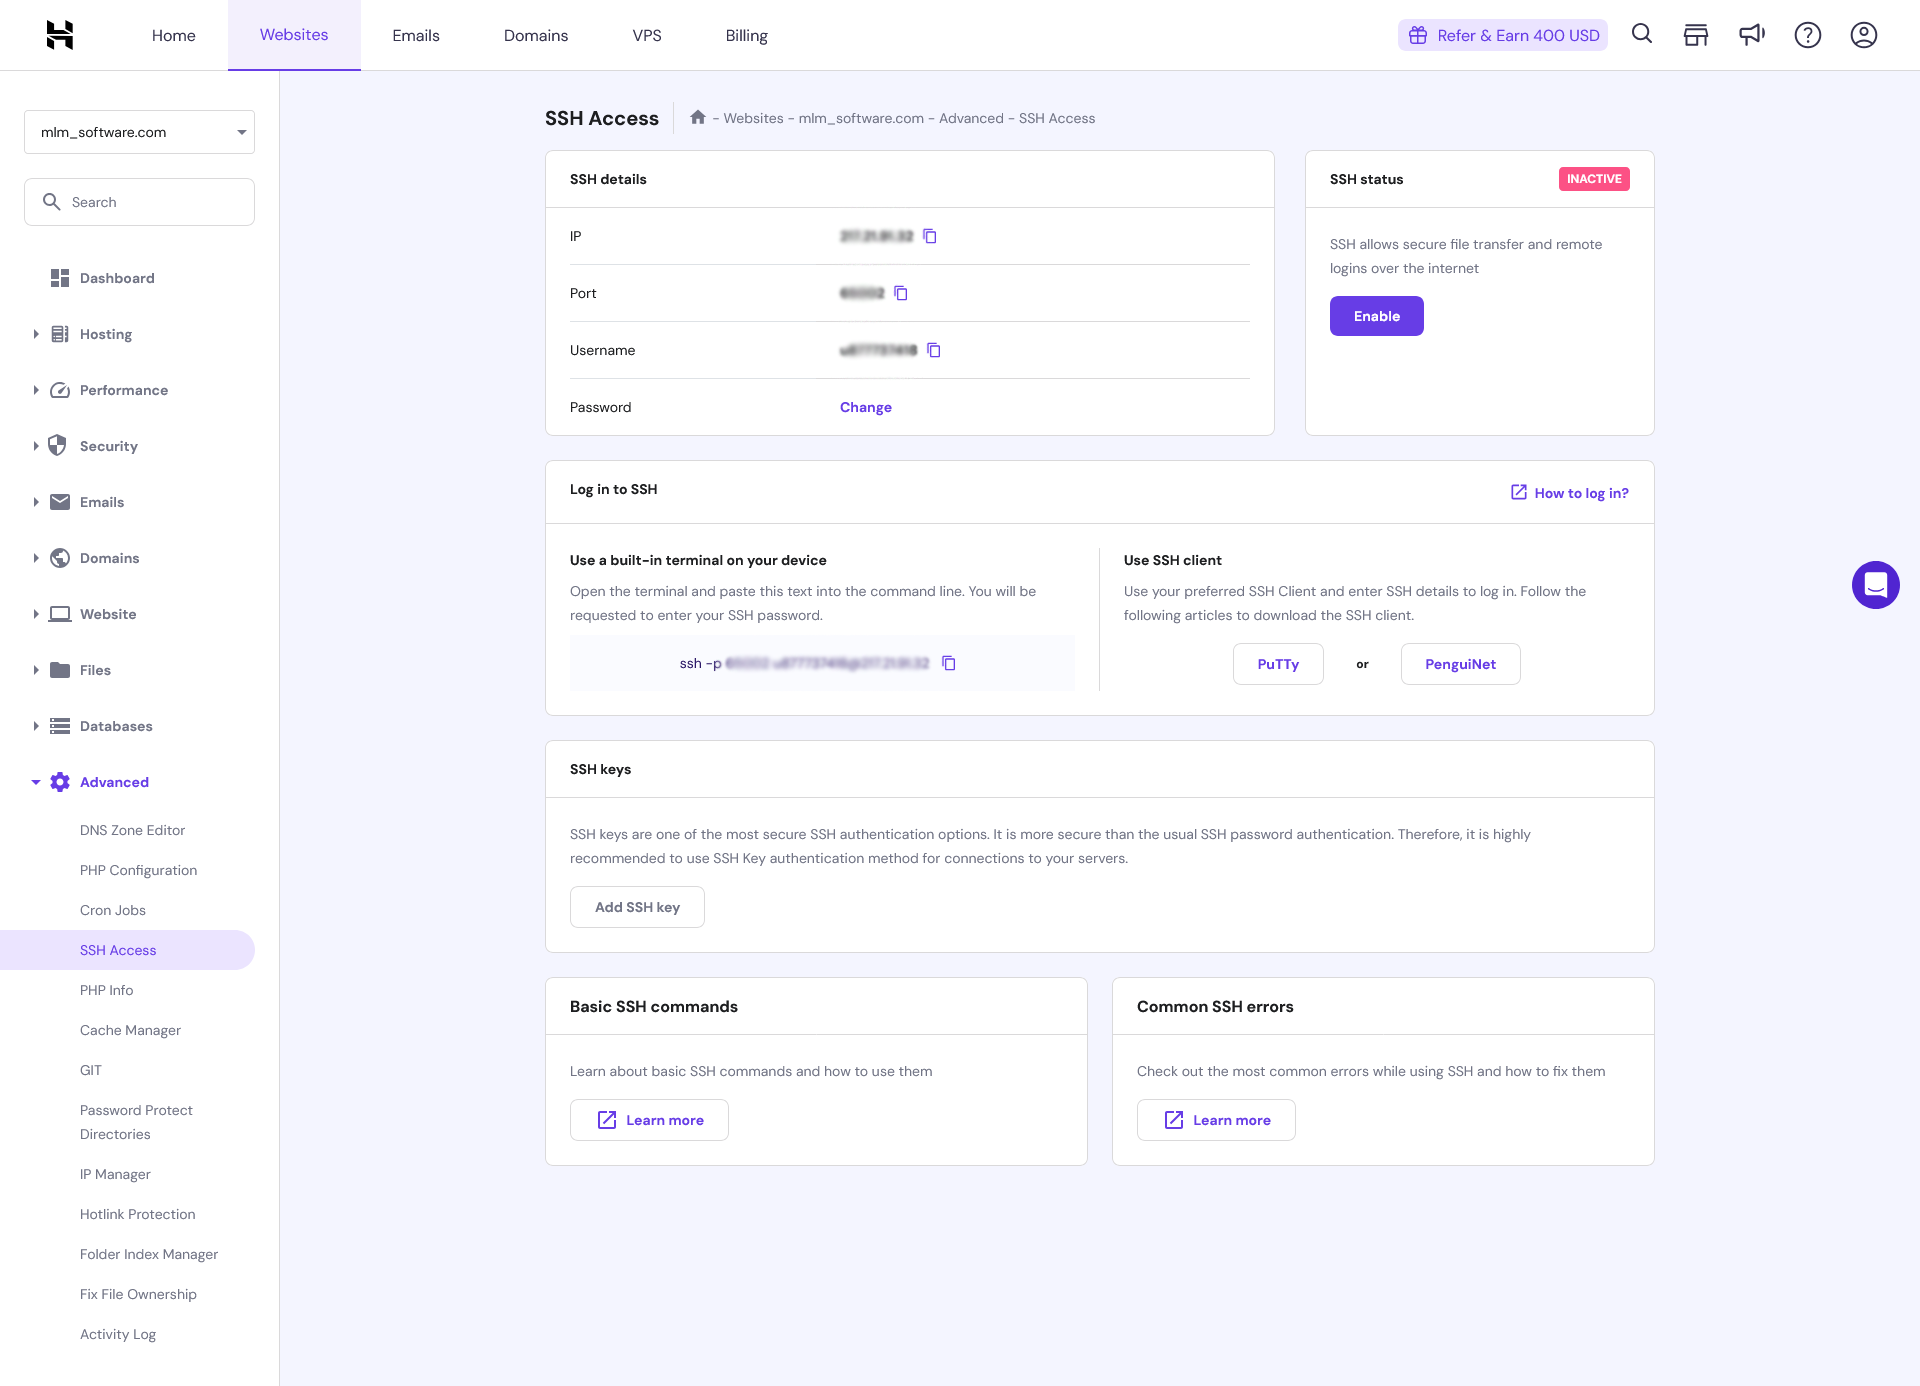
- Add SSH Key
After change status you have add ssh key of your local pc for login server into your local terminal.
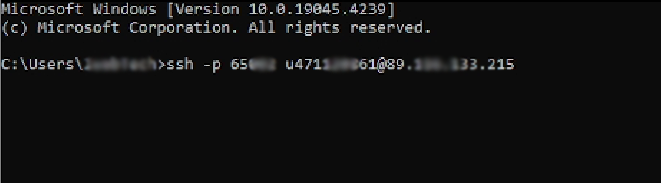
- Login to SSH
After that open your local terminal or cmd. Here enter the ssh code (ssh -p portnumber username@ip).
- Creating .env File
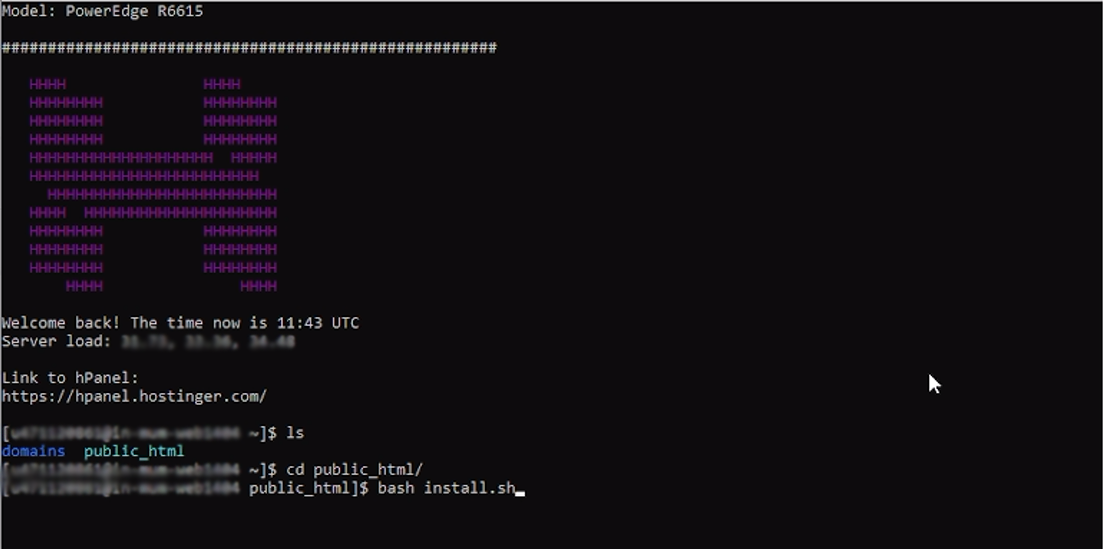
- Using Install.sh
After login to your terminal, go to the public_html folder and run bash install.sh command.
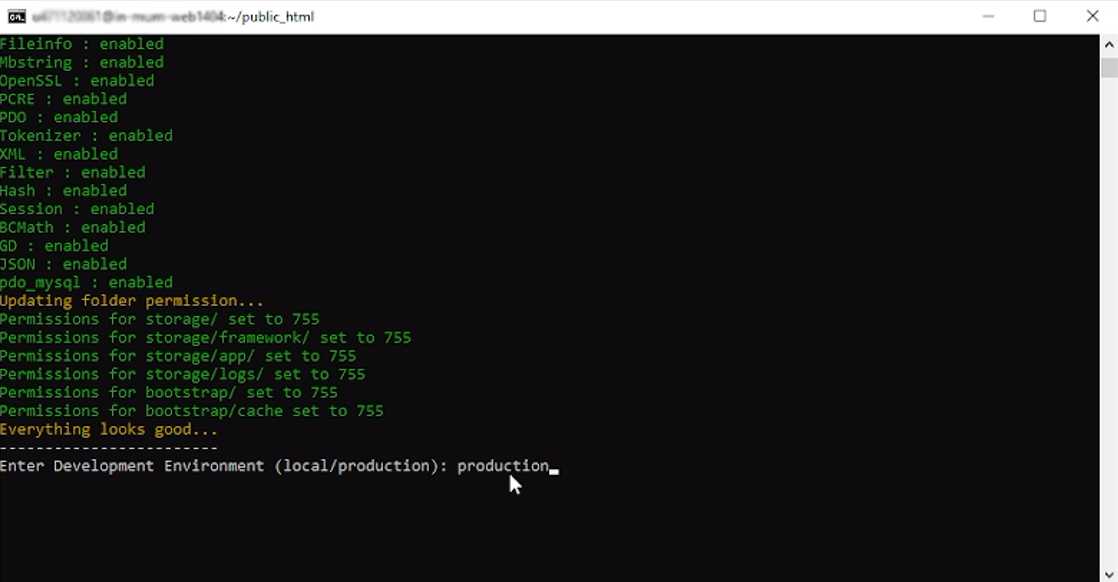
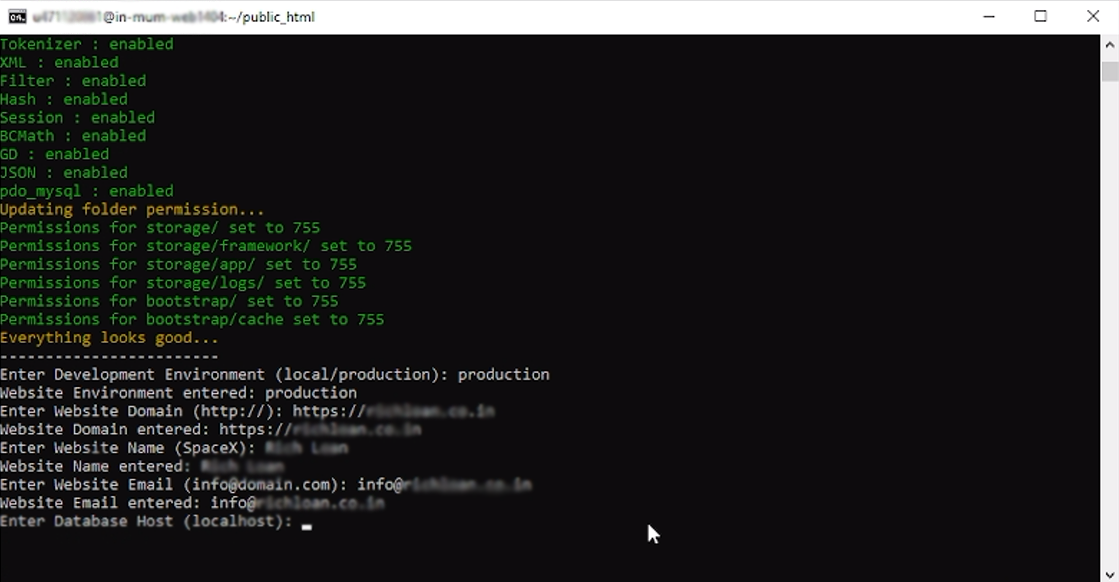
After run this command, Installer will check the composer installed or not on your server. If composer installed then it checks the PHP version is PHP 8.2 or not of your server. If PHP version PHP 8.2 then it will check the extensions enabled or not on your server. If all given extensions are enabled then it will give the permission to folders.
- Development Environment
Set development environment to production or local.
 If development environment is local then WSL or Git Bash installed in your local device.
 - Software Details
- Website Domain
Enter here your website domain where you run this software.
- Website Name
Enter the name of your website that you want to set the title of your website.
- Website Email
Enter the official email of your website. The all emails of software will fire through this email.
- Website Domain
- Database Details
- Database Host
Set database host to localhost / 127.0.0.1.
- Database Username
Enter here the username of your database that was created earlier.
- Database Port
Enter here the port of your database. For ex: 3306.
- Database Password
Enter here the correct password of your database that was set for your database.
- Database Name
Enter here the name of your database that was set.
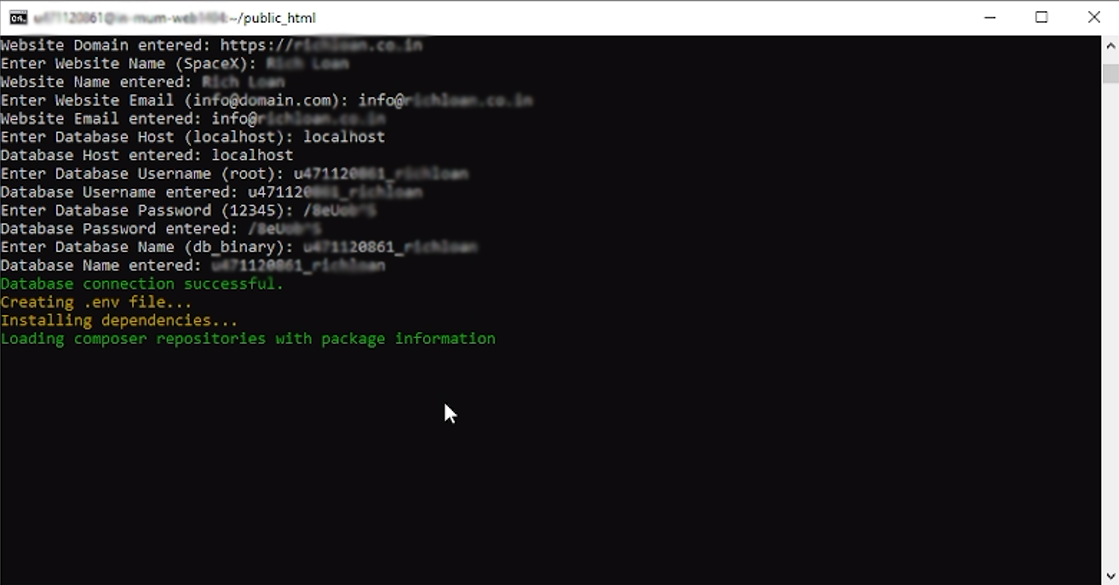
After entering the all details, this installer build connection to your database. If database connection build successfully, then it will create the .env file to the root directory. After that it will install the all dependencies of your software. After installing dependencies it will update the composer, then migrate the database and seed the default data of your software. After seeding the data it will link the storage folder of your software.
- Database Host
- Development Environment
- Manually
You can create .env file by manually in your software's root directory. You should copy the .env.sample file from root directory and paste in the .env file. In this file you have to change some values.
- APP_NAME = title of your website
- APP_URL = full domain of your website
- DB_DATABASE = name of the database
- DB_USERNAME = database username
DB_PASSWORD = password of your database user
After these changes save .env file in your software's root directory.
- Using Install.sh
- Add SSH Key
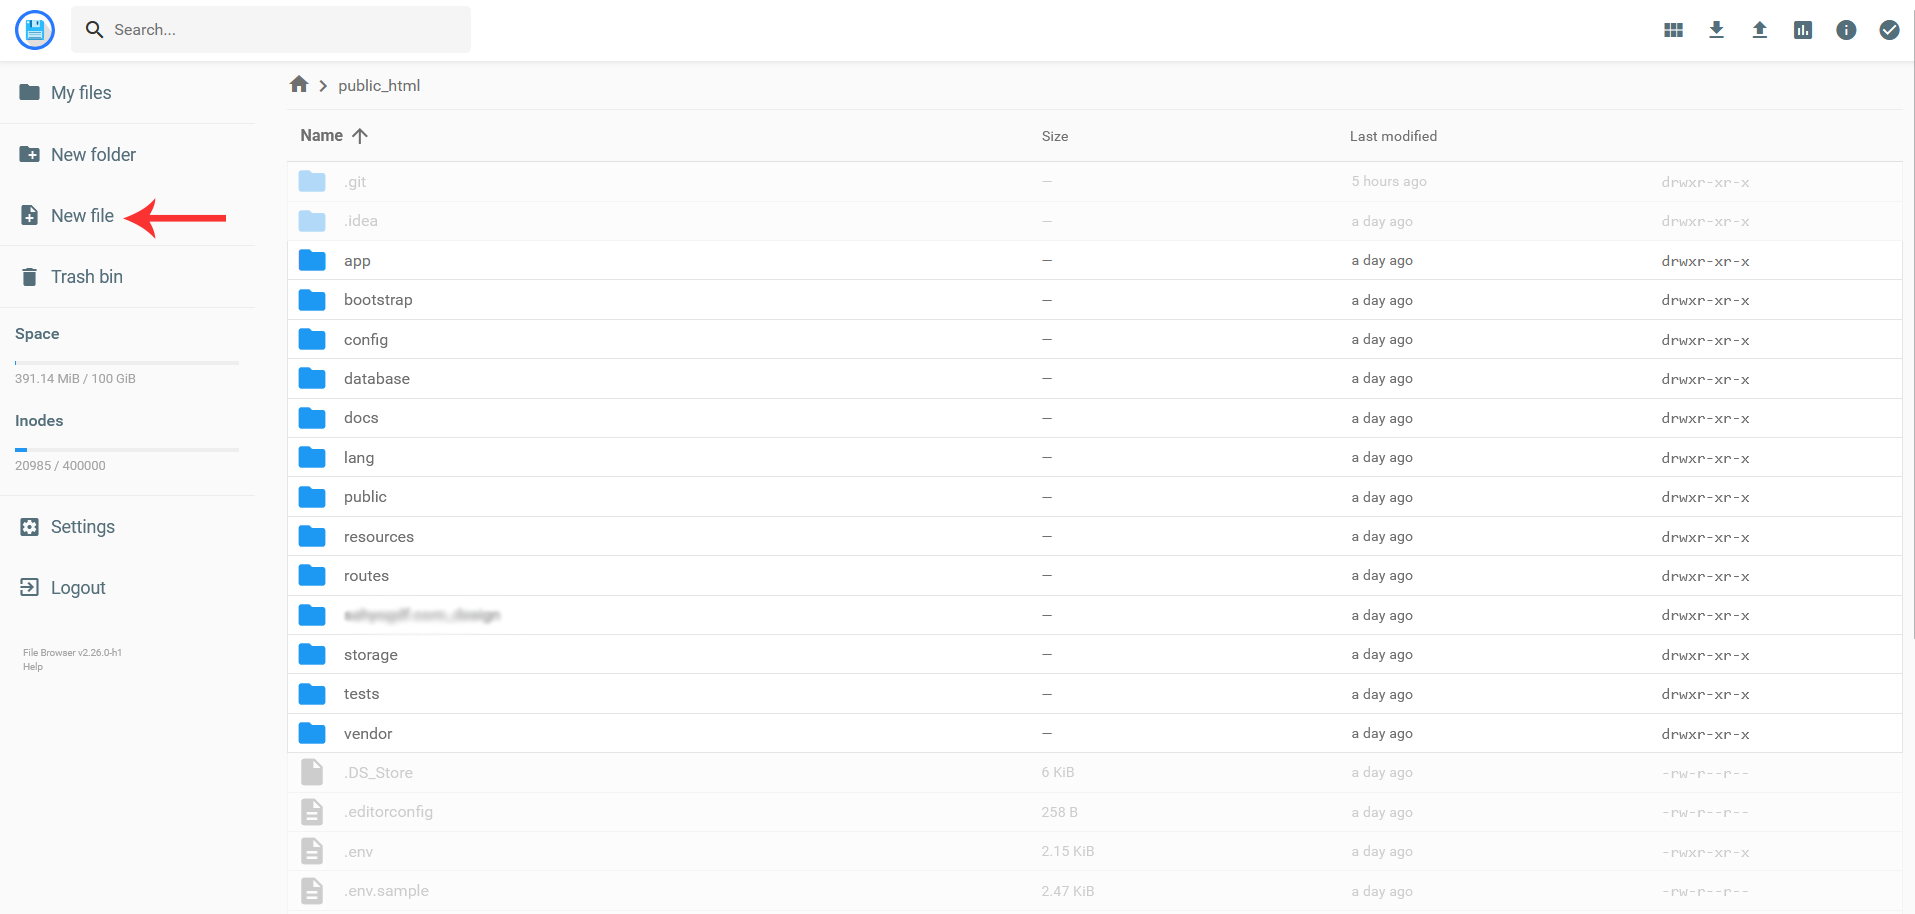
- Create .htaccess File
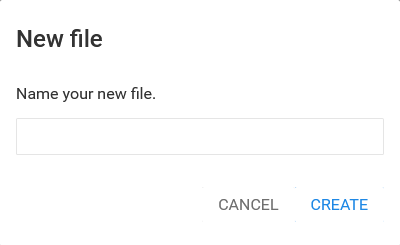
After this step you need to create a .htaccess file to your server's file manager.
Enter here name of the file (.htaccess).
After creating a file enter this code into the file.
                    <IfModule mod_rewrite.c>

                        RewriteEngine On

                        RewriteRule ^(.*)$ public/$1 [L]

</IfModule> - Cron Jobs
After this step you need to create a new cron job from cron job page. Enter this command
public_html/artisan schedule:runin command field. Then select every minute, every hour, every day, every month and every weekday options from minute, hour, day, month and weekday fields respectively. Then click on the save button.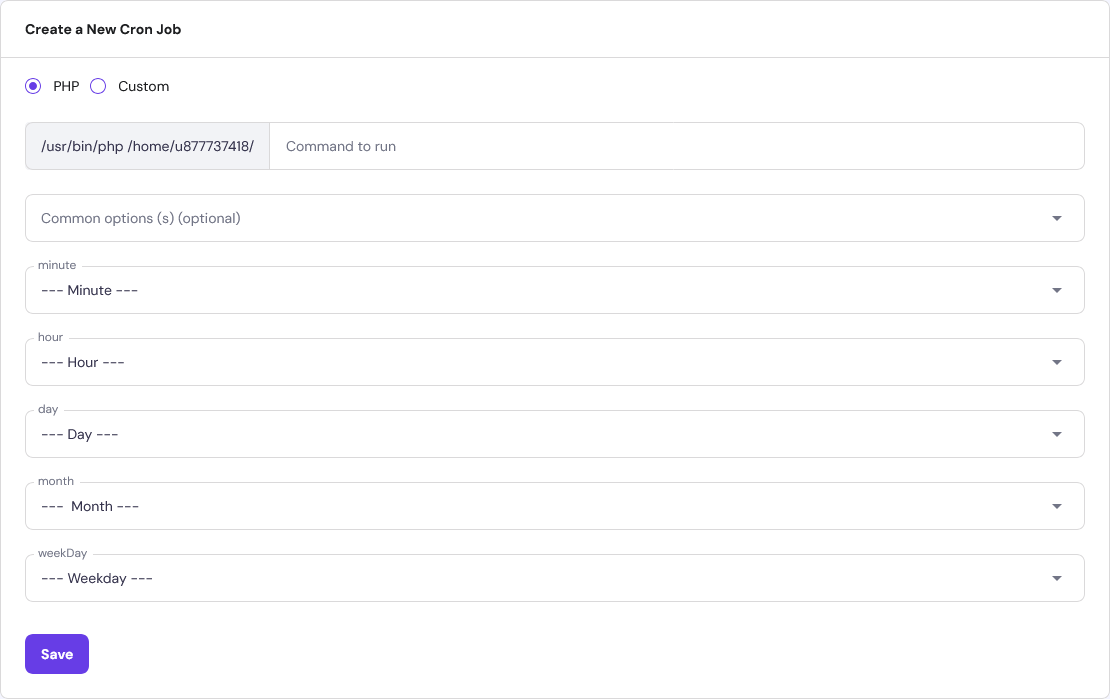
After completing all the steps your software will successfully deploy on your server.